Noisy Wave Frame And SB Tutorial
Noisy Wave Frame And SB Tutorial
Click Here to download Tutorial
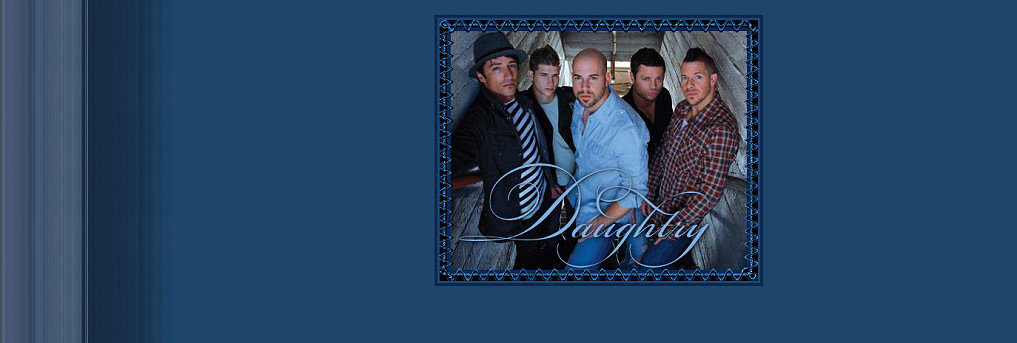
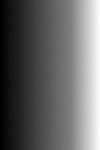
Things Needed
**Paint Shop Pro (this is done using 9 but other versions should work)
**Graphic of choice (One wider than tall will work best)
**L&K's Maxime Plugin Found Here
**Mask Above...Right Click and save to your Program Files/Jasc Software/PSP 9/Masks Folder
After you have your Plugin and Mask installed we can begin
1. Open your Graphic
2. Layers/Covert to Raster Layer
3. Your graphic needs to be 400 pixels wide, so if yours is bigger than this go to Image/Resize with the following settings: Make sure Lock Aspect Ratio is checked so your height will self adjust....
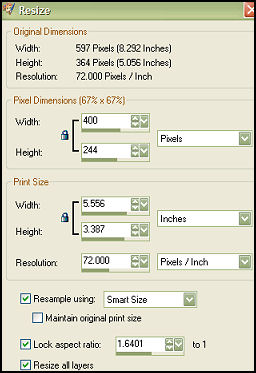
4. Adjust/Sharpness/Sharpen
5. Shift +D Twice to Duplicate your graphic two times
6. Close out your Original Graphic
7. Minimize one copy for now
8. Choose a main color from your graphic (One that you would like to use as your stationery's background color) and set it as your foreground color. Also choose another color from your graphic (Preferably a darker color) and set it as your background color...
9. Image/Resize and resize at 60% (Make sure ReSample using Smart Size, Lock Aspect Ratio, and Resize all layers are checked
10. Effects/Plugins/L en K's Maxime with Control 0 at 52 and Control 1 set to 0

11. Effects/Image Effects/Seamless Tiling with the following settings: Edge and Vertical Checked
12. Layers/Load-Save Mask/Load From Disk and find your fadededges_small 1 mask and use the following settings:
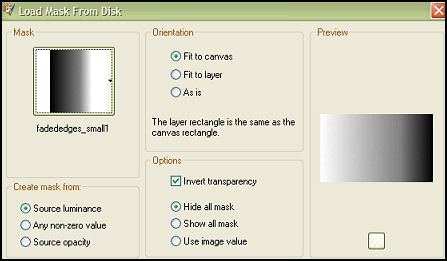
13. Layers/Merge/Merge Group
14. Image/Canvas Size 1400 wide x the height of your graphic: Make sure Lock Aspect Ratio is Not checked (If you do not know the height of your graphic you can find it in the "Original Dimensions" at the top of the canvas box)
15. Layers/Add New Raster Layer
16. Flood fill with your foreground color
17. Layers/Arrange/Send to Bottom
18. Layers/Merge/Merge Visible
19. File/Export/JPEG Optimizer and optimize at 15, name it and save. You can also close this out as we won't be needing it anymore...
Your Background is done, now let's make your Frame Header
1. Bring up the other copy of your graphic you had minimized
2. Image/ Add a 15 pixel border color not in your graphic (I used white)
3. Select the border with your Magic Wand:
4. Flood fill with your background color (should be your darker color)
5. Layers/Promote Background Layer
6. Selections/Modify/Contract by 5
7. Edit/Clear
8. Flood fill inside the selection with your foreground color
9. Adjust/Add Remove Noise/Add Noise with Gaussian and Monochrome checked and at 30
10. Effects/3D Effects/Inner Bevel using the default settings
11. Selections/Promote Selection To Layer
12. Selections/Select None
13. Effects/Distortion Effects/Wave (If the black color setting doesn't look good for your graphic, you can try using your background color instead but black should work good if you're using a darker color for your background)
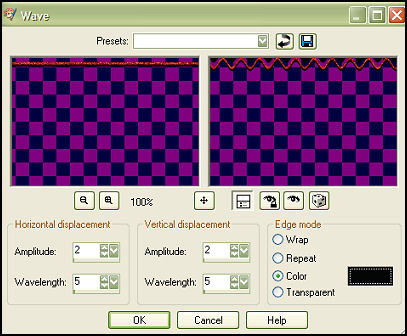
14. Image/Add Border and add a 3 pixel border in your foreground color
15. Image/Add Border and add a 2 pixel border using your background color
16. Add your watermark
17. File/Export to JPEG Optimizer and optimize it at 20, name and save it....
Assemble in Letter Creator and link credit back to JodiM at:
Thank you to my testers at Crazy Creative Creators!!
I hope you enjoyed my tutorial
Please feel free to snag and share my tutorials after they have been released but please credit back to me in the footer..
If you are a tutorial writer and you would like to use my selections, masks, or other things please email me at jodim@norwaymi.com
I do allow it, but I require a link back in your tutorial to my website here:
Thanks
Jodi M