Fun Quick And Easy Tutorial
Fun Quick And Easy Tutorial

Things Needed:
*Paint Shop Pro (This is done using 9 but others versions should work also)
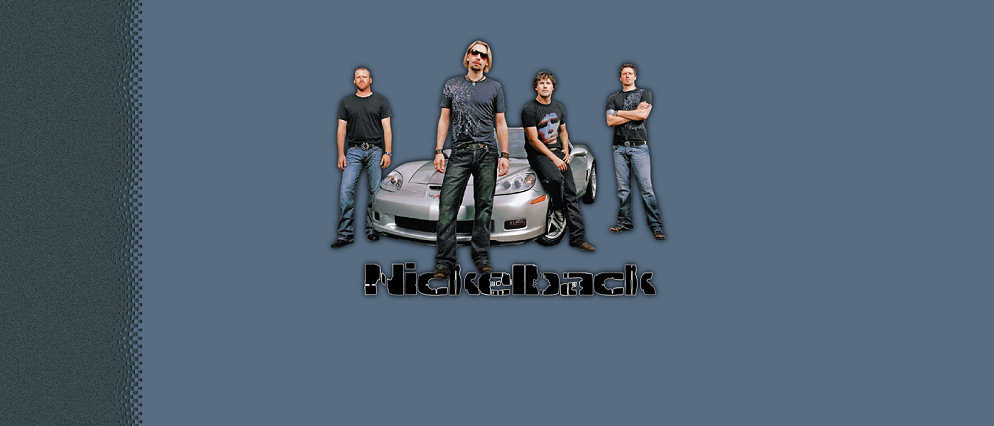
*Tube of your choice No Bigger than 500x500 (One that will look good as your header)
*Side Border Mask of your Choice
No Outside Filters Needed
Let's Get Started:
1. Open your tube in Paint Shop Pro and choose 2 complimenting colors from your tube. One light color and one dark color.
What I do is I set one as my foreground color and one as my background color and then open 2 new raster images 100x100 and flood fill my color choices into these new images. Then I place them on the left top section of my workspace so I don't lose them
You can now minimize your tube for right now....
2. Open a new transparent raster image 200x200
3. Flood fill this new image with your dark color
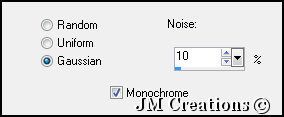
4. Adjust/Add Remove Noise/Add Noise

5. Effects/Image Effects/Seamless Tile
at Default Settings
6. Layers/Load Save Mask and apply the side border mask you have chosen.
7. Layers/Merge/ Merge group
8. Effects/3D Effects/Drop Shadow with settings below:
Vertical=0, Horizontal=2, Opacity=70, Blur=1, Color=Black
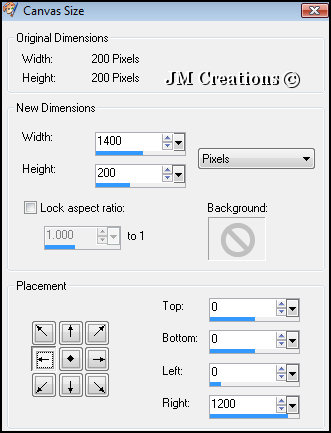
9. Image/Canvas Size and make your new size 1400 x 200 and the position to Middle Left:
If you use a larger screen resolution, you can make the width larger to accomodate your needs

10. Layers/Add New Raster Layer
11. Flood Fill this new layer with your Light Color
12. Layers/Arrange/Send To Bottom
13. Layers/Merge/Merge All Flatten
14. File/Export to JPEG Optimizer and optimize at 20 and Save it...This is your stationery's background :0)
Header
15. Open a new image 500x500
16. Flood Fill with your Light Color
17. Retrieve your tube that you minimized at the beginning and Edit/Copy
18. Back to your new image and Edit/Paste/Paste as a new layer
19. Effects/3D Effects/Drop Shadow and use The Following Settings: Vertical and Horizontal=0, Opacity=100, Blur=12, Color=Black
*Optional: You may add text if you wish to...If you do you can add a drop shadow with the following settings/Horizontal and Vertical=1, Opacity=50, Blur=2, Color=Black*
20. Layers/Merge/Merge All Flatten
21. File/Export to JPEG Optimizer and Optimize at 20...Name it and save it
Assemble in Letter Creator
Link tutorial back to Jodi M at:
Thank you to my testers at Crazy Creative Creators!!
I hope you enjoyed my tutorial :0)
Please feel free to snag and share my tutorials after they have been released but please credit back to me in the footer..
If you are a tutorial writer and you would like to use my selections, masks, or other things please email me at jodimcreations@gmail.com
I do allow it, but I require a link back in your tutorial to my website here:
Thanks!!
Jodi M