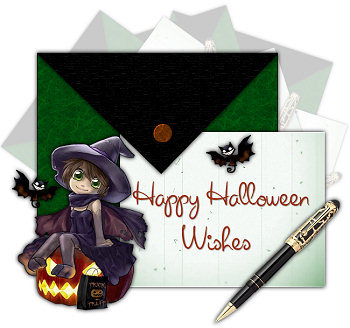
Just A Note Stationery Tutorial
Just A Note Stationery Tutorial
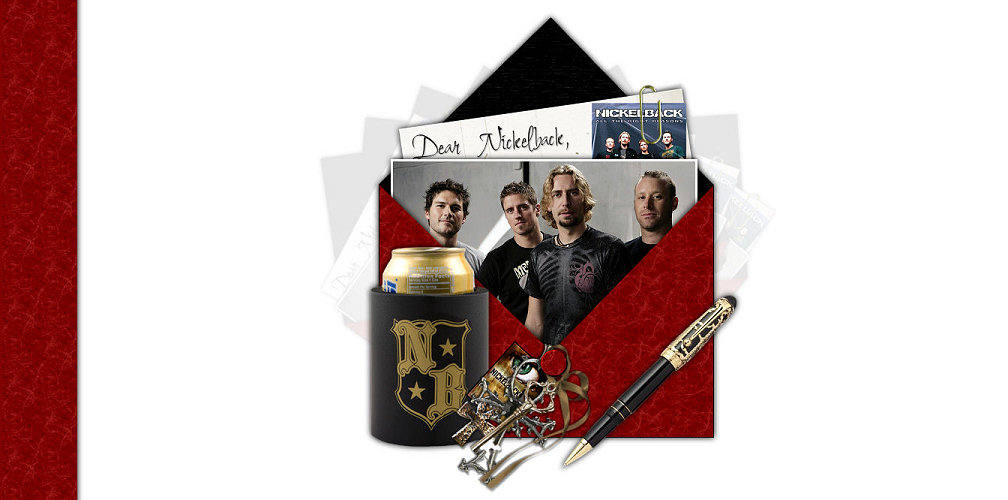

Things Needed
***Paint Shop Pro (this was done using verson 9 but should work fine with other versions)
***My Supplies (this includes my two templates, Sideborder square, and MuRa's Meister-Copies Plugin)
***Plugin needed is MuRa's Meister-Copies and it is included in my Supply zip if you don't allready have it...
***Additional Tubes, Graphics, Embellishments, Fonts etc that you would like to use (Optional)
~Please Note that all settings remain the same unless otherwise stated. Before Opening Paint Shop Pro, Please unzip my Supplies file and extract my two templates and sideborder square to your deskop or somewhere else you can easily find them. Also please put the Plugin in your PSP/Plugins folder~
The Header
1. Open one of my NoteCard templates in PSP along with the Sideborder Color Square and any tubes or graphics you will also be using...Please minimize all but the NoteCard template
2. Duplicate once and close out original. You can do this by hitting Shift + D on your keyboard.
3. My Terms of Use will be the active layer. After you have read it, you can right click on this layer in your Layers Palette and Delete
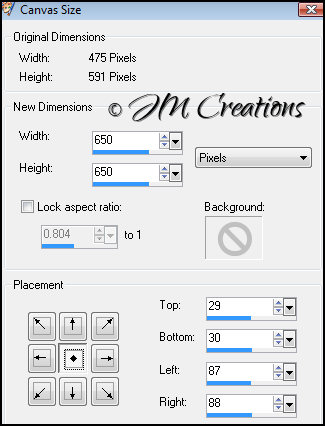
4. Image/Canvas Size and make it 650x650. Placement is in the middle
5. Layers/New Raster Layer
6. Layers/Arrange/Send to Bottom
7. Flood fill with white (You will have a chance to add a colored background at the end if you'd like to)
~If you do not want to leave the Envelope, Side Border Color Square, and Button Red you can change them to the color you'd prefer.
You can do this by going to Adjust/Hue and Saturation/Colorize. From the drop down menu you can choose a color from there, or if you are more experienced, you can customize your own color by using the Hue and Saturation settings for the specific color you'd like to use~
8. Now you can move the NoteCard pieces around if you'd like. The Envelope is in pieces so you will have to "Put them back together" after the move...Arrange it the way you would like to though, along with any other tubes and things you would like to use. You can add your own drop shadow to the envelope and other things if you'd like. I use the settings below:
H&V=0, Opacity=100, Blur=12, Color=Black
9. When you are finished arranging your tubes and things, close off the white background by clicking the eye on the bottom layer in your Layer Palette
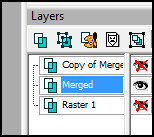
10. Click on the Top Layer to make it active and go to Layers/Merge/Merge Visible
11. Now go to Layers/Duplicate
12. Close out the top layer and click on the second layer to make it active
13. Now we need to resize this layer so go to Image/Resize and resize it 70% Make sure "Lock Aspect Ratio" is checked and resize using Smart Size....
Do not have "Resize all Layers" checked. We are only resizing this layer...
14. Effects/Plugins/MuRa's Meister - Copies with the following settings: Please note that these settings may not totally work for your graphic. You may have to adjust the Number line and the Phase line so your copies do not run off the side...You can try lowering the numbers of both lines if you have problems...
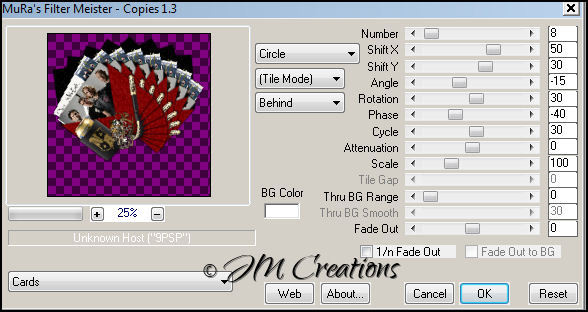
15. You can now lower the opacity of this layer in your Layers Palette. Anywhere between 10 and 20 should work. I have set mine at 10...If you'd like it darker then please adjust it to your liking...
16. You can now turn the visibility back on for your other layers.
17. You can now add your watermark and any text that you would like (Optional). Here you also have the opportunity to change the color of your background. I prefer white for these kinds of stationery but if you'd like to add a color, click on the bottom (white) layer to make it active and go to Edit/Clear. Then flood fill with the color you would like :)
18. We are now done so you can go to Layers/Merge/Merge All-Flatten
19. If you'd like to resize you can do that and you may then also need to sharpen it...
20. Now time to save so go to File/Export to the JPEG Optimizer and Optimize at 15-20 or whatever your preference is...
~You can either minimize this or close it out, we don't need it anymore for this tutorial~
The Background
1. Bring the Sideborder Color Square up and if you changed the color of your envelope, you should also have re-colored this square. If not you can do so now. Then go to Layers/Promote Background Layer....
2. Next go to Image/Canvas Size and make it 1400x100. Placement is Middle Left. If your screen resolution is larger you can adjust the width settings to accomodate your needs.
3. Effects/3D Effects/Drop Shadow and use the following settings:
V&H=0, Opacity=100, Blur=12, Color=Black, and Shadow on new layer is checked
4. Effects/Image Effects/Seamless Tiling using Corner and Vertical
5. Layers/Merge/Merge Visible
6. Layers/New Raster Layer
7. Layers/Arrange/Send To Bottom
8. Flood fill with white or if you chose a color for the background on your header, please use the same color..
9. Layers/Merge/Merge All-Flatten
10. Send it to the JPEG Optimizer and save...
Arrange in Letter Creator and you are done!!
Thanks so much for trying my tutorial. I hope your results were great ones :)
Please feel free to snag and share my tutorials after they have been released but please credit back to me in the footer..
If you are a tutorial writer and you would like to use my selections, masks, or other things please email me at
jodim@norwaymi.com
I do allow it, but I require a link back in your tutorial to my website here:
http://www.jmcreationtuts.iwarp.com
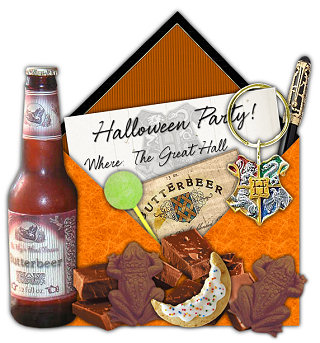
Some More Examples...
